There’s something empowering about embracing your natural hair. Whether you’re just starting your journey or you’ve been rocking your natural texture for years, having a consistent and nourishing routine makes all the difference. But let’s be honest—building a natural haircare routine can feel confusing at first. With so many products, techniques, and opinions out there, it can be tough to figure out what your hair truly needs.
This guide is here to simplify the process. No fluff. No gimmicks. Just a clear, step-by-step plan to help you build a natural haircare routine that works for your unique texture, lifestyle, and goals.
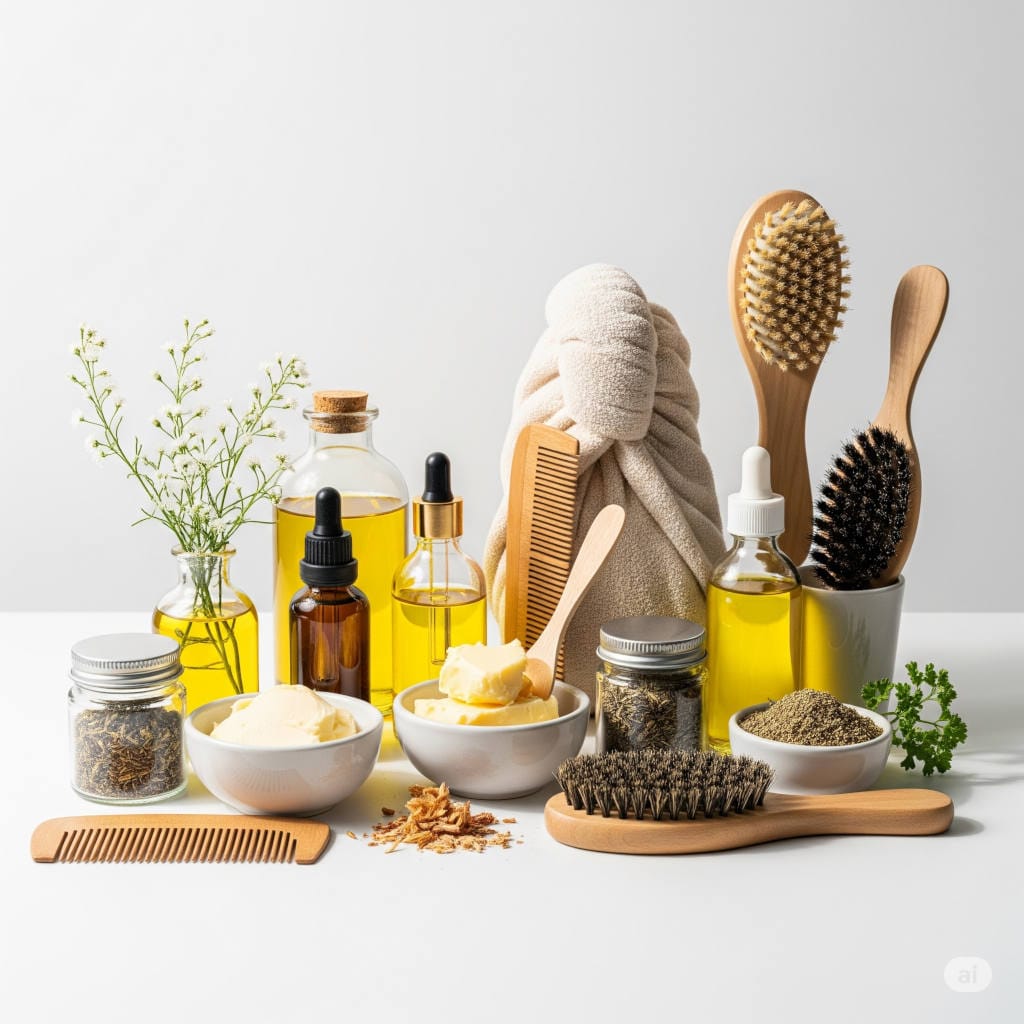
Switching to a natural haircare routine isn’t just a trend—it’s a lifestyle change with real benefits:
Healthier Hair: Natural ingredients tend to be gentler and more nourishing than synthetic ones, helping to restore moisture and reduce breakage.
Scalp Wellness: Many conventional products contain sulfates and alcohols that can dry out and irritate the scalp. Natural care prioritizes scalp health.
Environmental Impact: Natural products often come from eco-conscious brands that use sustainable practices and packaging.
Self-Love and Identity: Embracing your natural texture fosters self-acceptance and cultural pride.
Ready to get started? Let’s break it down step by step.
Step 1: Know Your Hair Type and Porosity
Understanding your hair is the first step to taking care of it. Hair isn’t just curly or straight. It has unique characteristics that influence how it behaves and what it needs.
Curl Pattern
Hair is generally categorized into four main types:
Type 1: Straight
Type 2: Wavy
Type 3: Curly
Type 4: Coily/Kinky
Each type has subcategories (like 3a or 4c) that describe the tightness of the curl. Knowing your type helps you choose suitable products and techniques, but remember—it’s just a guide, not a rulebook.
Hair Porosity
Porosity determines how well your hair absorbs and retains moisture. Here’s how to figure out your porosity:
The Water Test:
Take a clean strand of dry hair.
Drop it in a glass of water.
Watch what happens.
If it floats for a long time: Low porosity
If it sinks slowly: Medium porosity
If it sinks quickly: High porosity
Why it matters: Low-porosity hair resists moisture, so lightweight products and heat can help absorption. High-porosity hair absorbs moisture fast but loses it quickly, so sealing with oils and butters is essential.
Step 2: Clarify and Detox Your Hair
Before diving into a new routine, start fresh. Buildup from old products, hard water, or pollutants can block moisture and dull your hair.
Natural Clarifying Methods:
Apple Cider Vinegar (ACV) Rinse:
Mix 1 part ACV with 3 parts water.
Pour over hair after shampooing.
Rinse thoroughly and follow with conditioner.
Bentonite Clay Mask:
Mix bentonite clay with apple cider vinegar or water.
Apply to damp hair, let it sit for 15-20 minutes, and rinse.
Clarifying Shampoo:
Look for a sulfate-free option.
Use it once every 3-4 weeks or as needed.
Always deep condition after clarifying to restore lost moisture.
Step 3: Choose the Right Cleanser
Clean hair starts with the right cleanser. But unlike traditional routines, natural hair doesn’t need daily shampooing.
Options:
Co-Wash (Conditioner Wash):
Great for dry or tightly coiled hair.
Use a silicone-free conditioner with good slip.
Gentle Sulfate-Free Shampoo:
Ideal for removing buildup without stripping moisture.
Use every 1-2 weeks.
Herbal Cleansers:
Ingredients like African black soap, shikakai, or reetha can cleanse while nourishing the scalp.
Tip: Clean your scalp more than your strands. A healthy scalp leads to healthier hair.
Step 4: Moisturize Like a Pro
Natural hair craves moisture. Lack of it leads to breakage, frizz, and dullness.
The LOC/LCO Method:
These methods help lock in moisture, depending on your hair’s porosity:
L = Liquid (water or a water-based leave-in conditioner)
O = Oil (to seal in moisture)
C = Cream (for added hydration and hold)
Choose the order based on your hair:
Low-porosity: LCO
High-porosity: LOC
Oil Tips:
Lightweight oils: Grapeseed, jojoba, argan (great for fine or low-porosity hair)
Heavier oils: Castor oil, olive oil (better for thick or high-porosity hair)
Apply moisture regularly—every few days or as needed based on your hair’s behavior.
Step 5: Deep Condition Weekly
This is where the magic happens. Deep conditioning is essential for strength, shine, and elasticity.
Why Deep Condition?
Replenishes moisture
Restores protein (if needed)
Improves manageability
DIY Deep Conditioner Recipe:
1 ripe avocado
2 tbsp olive oil
1 tbsp honey
Blend until smooth. Apply to damp hair. Cover with a cap and let sit for 30 minutes.
Use heat (steam or hooded dryer) for better absorption, especially for low-porosity hair.
Step 6: Detangle Without Damage
Tangles are part of the journey, but they don’t have to be painful.
How to Detangle:
Start on damp, conditioned hair.
Use your fingers or a wide-tooth comb.
Work in small sections, from ends to roots.
Be patient and gentle.
Avoid dry detangling unless your hair is stretched and you’re using an oil-based product for slip.
Step 7: Protect Your Hair Day and Night
Your hair needs protection around the clock, not just during styling.
Nighttime Protection:
Silk or satin bonnet/scarf: Prevents moisture loss and friction
Satin pillowcase: A great backup if your bonnet slips off
Loose twists or braids: Reduces tangles and breakage
Comparing Your Hair: Everyone’s hair is unique. Focus on what works for you.
Final Thoughts: Love Your Hair as It Is
Your natural hair is part of what makes you unique. Learning to care for it is more than a beauty ritual—it’s an act of self-care and self-love.
Be patient. Be consistent. Give yourself grace on the hard days. And celebrate the wins, no matter how small. Your natural hair journey is yours to define, and with the right routine, it can be a joyful one.
You’ve got this.
Want more help?
Let me know if you’d like this article turned into a downloadable checklist, product guide, or printable routine planner!


")


